Searching for Fossils: A Practical How-To Guide
I was once on a panel at a Comic Con in Denver talking about the science of Jurassic Park and someone asked about the worst inaccuracy in the movies. While I’d love to break down a list of the anatomical and scientific liberties taken, the one that stood out to me was that they had a refrigerator in the field! Such hedonistic extravagance is simply unthinkable. I was so affronted when I saw that scene that I nearly over swirled my brandy and spilled it neatly down the front of my dinner jacket.

Our first ComicCon in Denver, Colorado
A lot of people have some pretty funny ideas about how fossils are collected. We don’t just start digging in a random spot, the fossils never look good in the field, and we certainly don’t get finished museum-quality displays right out of the ground.
To that end, I thought it a good idea to walk you through a standard fossil hunting trip and give you a sense of what it’s really like.
Step 1: Get Written Permission!
If you’ve got a place to go hunting, get permission and get it in writing. It doesn’t have to be complicated and you don’t have to drop a fortune on attorney’s fees, but you do need to outline the agreement between you and the person who owns the land.
Include things like how you will compensate the landowner, what schedule they get paid on, and how value is determined (these points may not seem relevant if you’re working on behalf of an institution and the fossils are getting donated. Your landowner will still want to write the donation off, so put it in the agreement!). Put some indemnification in there so the landowner isn’t worried that you’ll sue them if you slip and break a leg. How and when are you allowed to access the land? Make sure everyone knows what’s up.
“I’d rather just have a handshake agreement. Everyone here is honest and I’m old school. That’s just how I do things.”
Ahhh, if only that were the case. People’s willingness to bend their honesty directly correlates to how cool and/or valuable the Tyrannosaurus rex skull you just found is. The seven-figure price tags we’ve seen in the headlines give everyone skewed perspectives pretty quickly, and you may just find that you no longer have access to that land or that particular fossil if you didn’t spell it out in a written agreement.
If you really want to stick to your handshake agreement, then by all means enjoy the impending litigation. You are going to get sued. Or run off with a shotgun. Or, as is more often the case in these situations, run off with a shotgun and then sued.
Step 2: Collect Your Gear
Every summer I grab my field pack out of storage. It’s in the basement behind that stack of boxes but in front of the old bicycle.
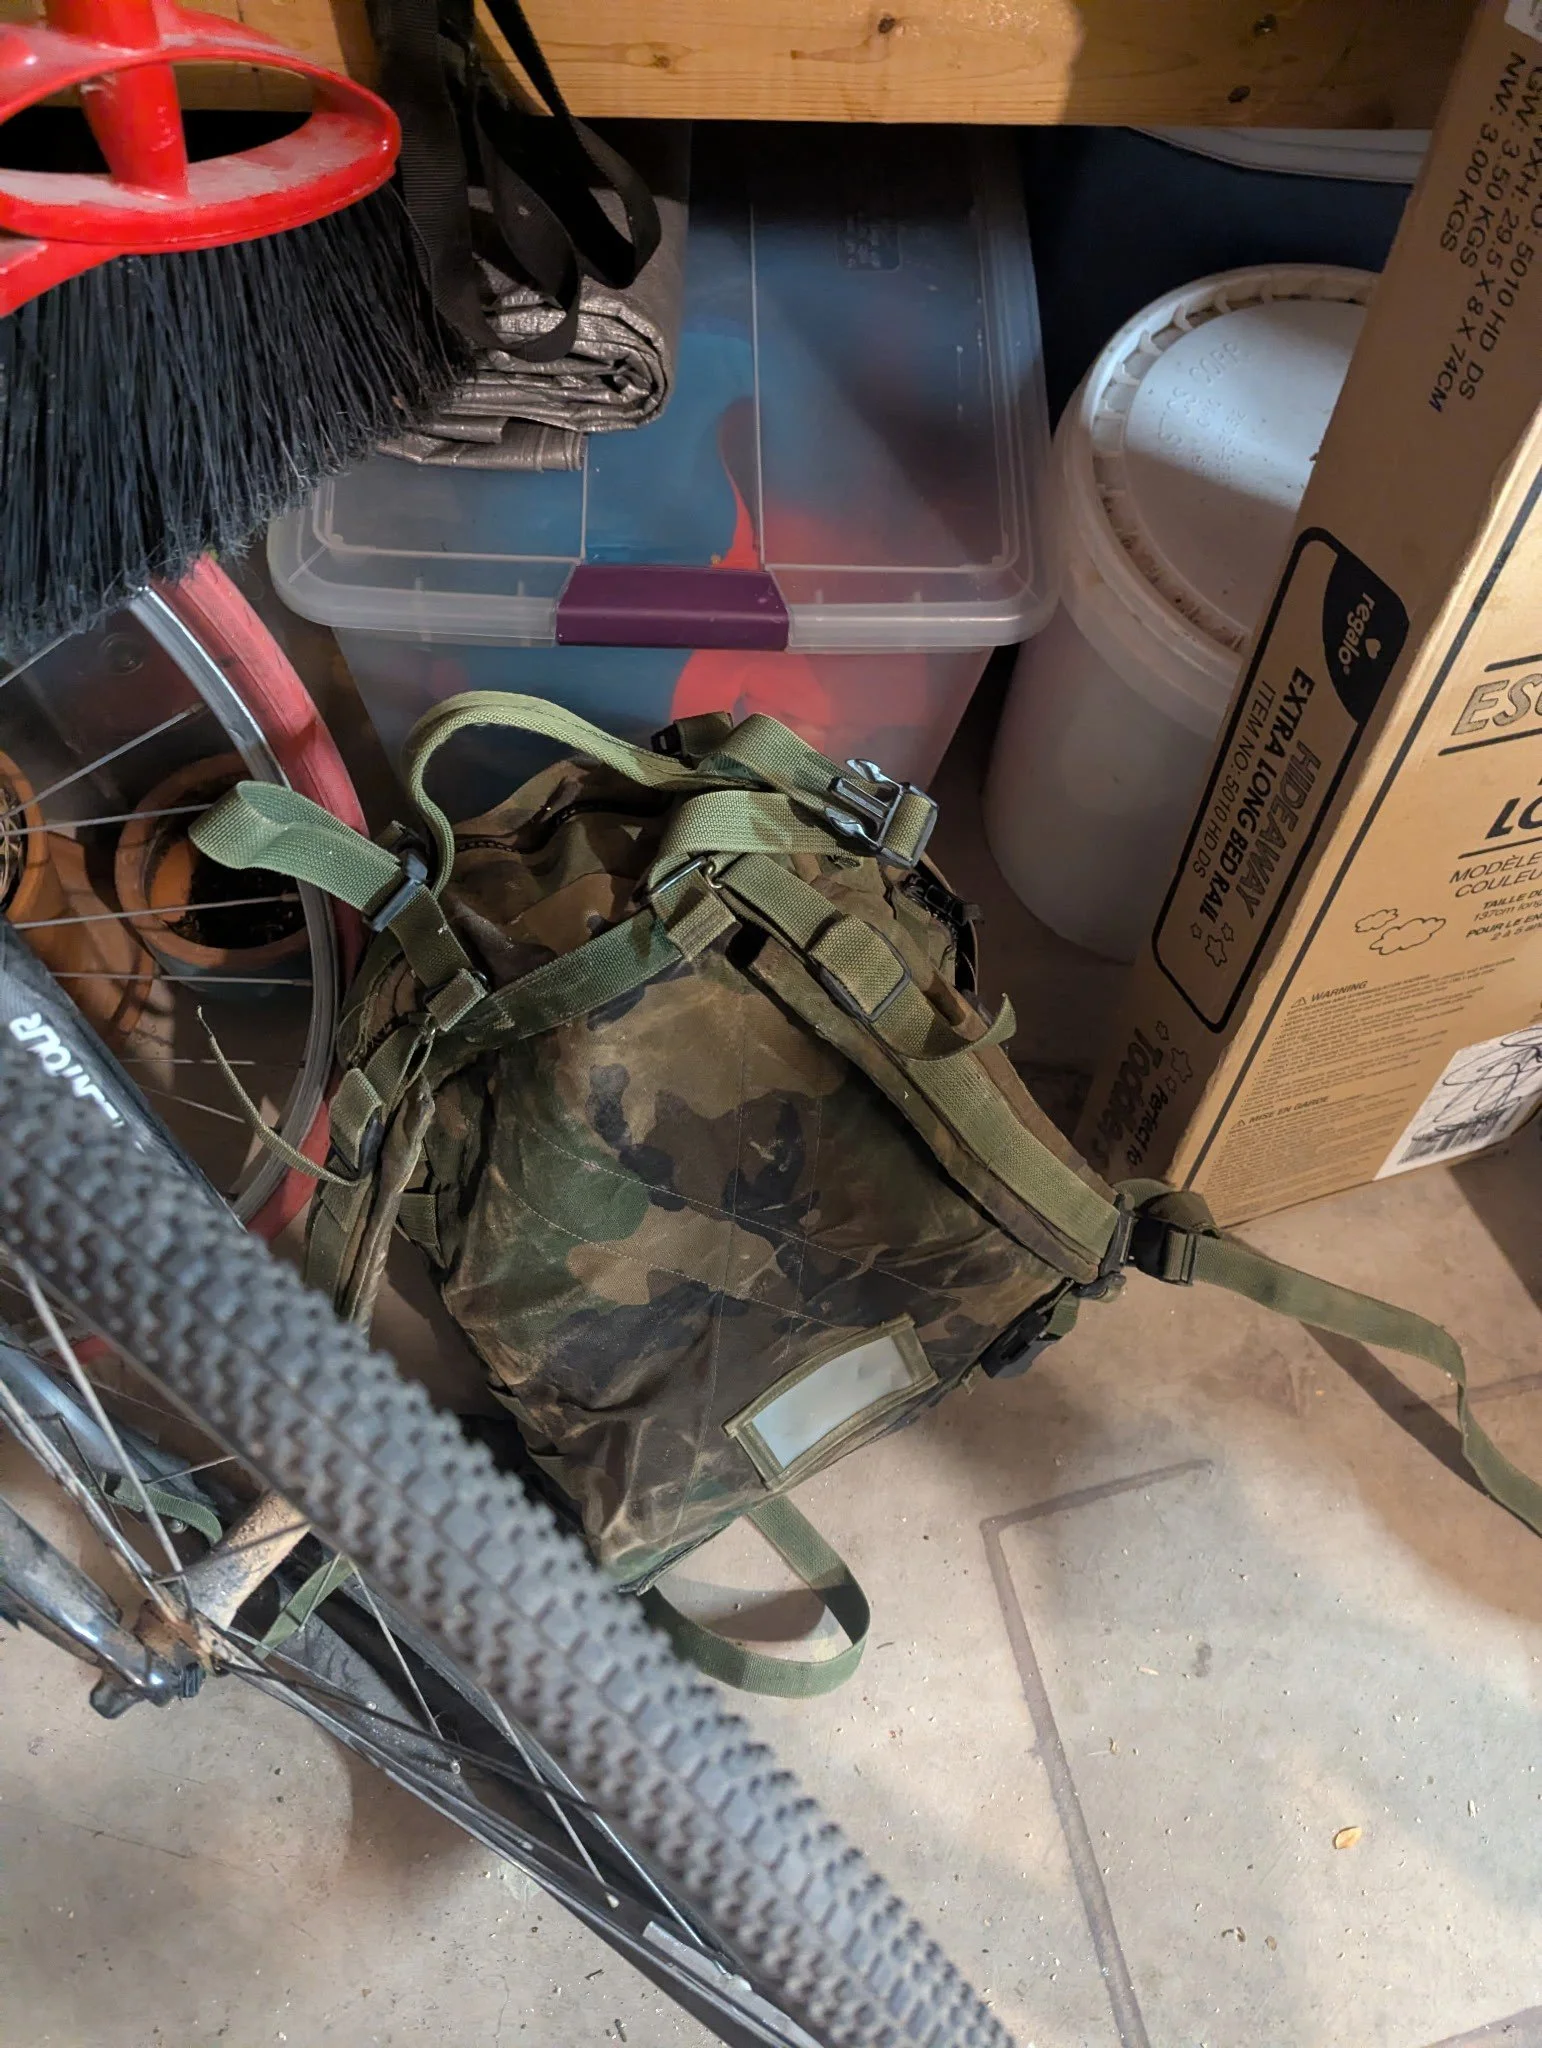
Start by pulling out doing an inventory of what you’ve got. You almost certainly forgot a bottle of glue in the bottom of the pack when you carefully flung it in the corner last fall, and that glue has now leaked all over everything and congealed your tools into a brick full of pointy implements stuck to the fabric. This overwintering process is called “breaking your gear in.” Not every college-level practical paleontology internship will go over this, so it’s best to start practicing on your own now. If you’re new to this, then your gear may not have as much seasoning as mine, but don’t let that discourage you.
Break the glue brick apart and start extracting your tools. You should have: a pokey thing, a scrapey thing, a brush, a rock hammer, and a shovel. The pokey and scrapey thing can be combined into a pocket knife if you are so inclined. Just make sure it’s one you don’t mind ruining or losing it.
Get yourself some sun screen and some bug spray. The sunscreen should be applied in quantities so thick that bugs cannot reach your skin. The bug spray is there as a show piece- it doesn’t actually help against any of the bugs.
Your wardrobe should include durable pants. I’ve seen a few people wear denim out there in the heat. I don’t know why they do that to themselves. Just go to the army surplus store and get something in roughly your dimensions. They won’t have your exact dimensions because no one has ever found a pair of surplus pants in their dimensions in the history of clothing manufacture. Just get what you can find.
You will need some polarized sunglasses and a wide brimmed hat. Don’t get an Indiana Jones hat. It’s hot out there and that hat makes it worse. You also don’t look as cool as you think you do. If looking cool was the point, you should have played guitar in a band or been a marine biologist or something. Cool is not a trait available to fossil hunters and you need to make your peace with that now.
A Desk Job Wouldn't Be So Bad Right About Now
Grab a breathable shirt, preferably one with long sleeves that protects your sunscreen veneer from all of that irritating sunshine. Get some work gloves so you can shred them within minutes of starting to work on any sandstone quarry. Get a backup set of gloves in case you also run across a fossil in some mudstone and want to demolish those as well.
Finally, get a set of good field boots. Make sure the soles are high quality, durable material. You don’t want to be dragging a heavy fossil up a hillside on your way to the truck when WHAM!- the sole blows out. The important thing is that they are (and, critically, that they look) expensive. Bragging about the value of your boots is a pretty big deal at paleontology conferences.
I can’t say this enough- toilet paper and socks. You will NEVER bring too much.
Step 3: Start Looking for Fossils
You’re in the field at last! You’ve got permission, you’ve got your fancy boots, and you’ve made it to the outcrops! Time for some real fossil-hunting action.
It may seem obvious to some of you, but this bears repeating: LOOK DOWN. The fossils are in or on the ground. I’ve taught field work to dozens of people over the years and an alarming number of them wander around the outcrops while staring at the sky or at the landscape. That’s fine…if you’re hiking. You didn’t buy those expensive hiking boots for hiking, though, so cast your gaze back to the ground.
Move slowly and scan about a meter to either side of you. If you look any farther than that, you won’t spot really tiny fossils or fragments. Don’t miss those tiny bits because they can lead to big discoveries- in either size or importance.
Bones rarely erode out intact. They usually break apart into dozens or hundreds of pieces so you’ve got to be on the lookout for those fragments. When you spot one, take a moment to look around it and see if there are any more. If there are more, follow them up the hillside because they tumble down as they’re eroding out. If the fragments converge on a single spot, you may even find a bone sticking out of the rock. This tells you it’s time to dig!
I like to start with a long day of looking before I find anything. Sometimes I can stretch that into a couple of days. A lot of attention is given to people who make important discoveries, but I’ve found a particular professional niche as an expert at finding where the fossils aren’t. I can narrow down a large area and prime it for someone who comes behind me, checks the one spot on the outcrop I missed, and makes the next world-class find. It’s a thankless role, but I believe an important one.
The process goes like this: hunt slowly and carefully for several hours. Keep looking. Spot a single tiny fragment of bone and try to trace it. Get disappointed. Keep looking. Look some more. Slow down and make sure you’re really checking every bit of the outcrop. Drink some water. Notice that you’ve covered a lot of ground. Go back to looking. Wonder about the life expectancy of the soles on those fancy boots you spent so much money on. Keep looking. Question life choices. Meet up with someone else on the team who walks twenty feet from where you stopped and goes, “Hey! I found a dinosaur!”

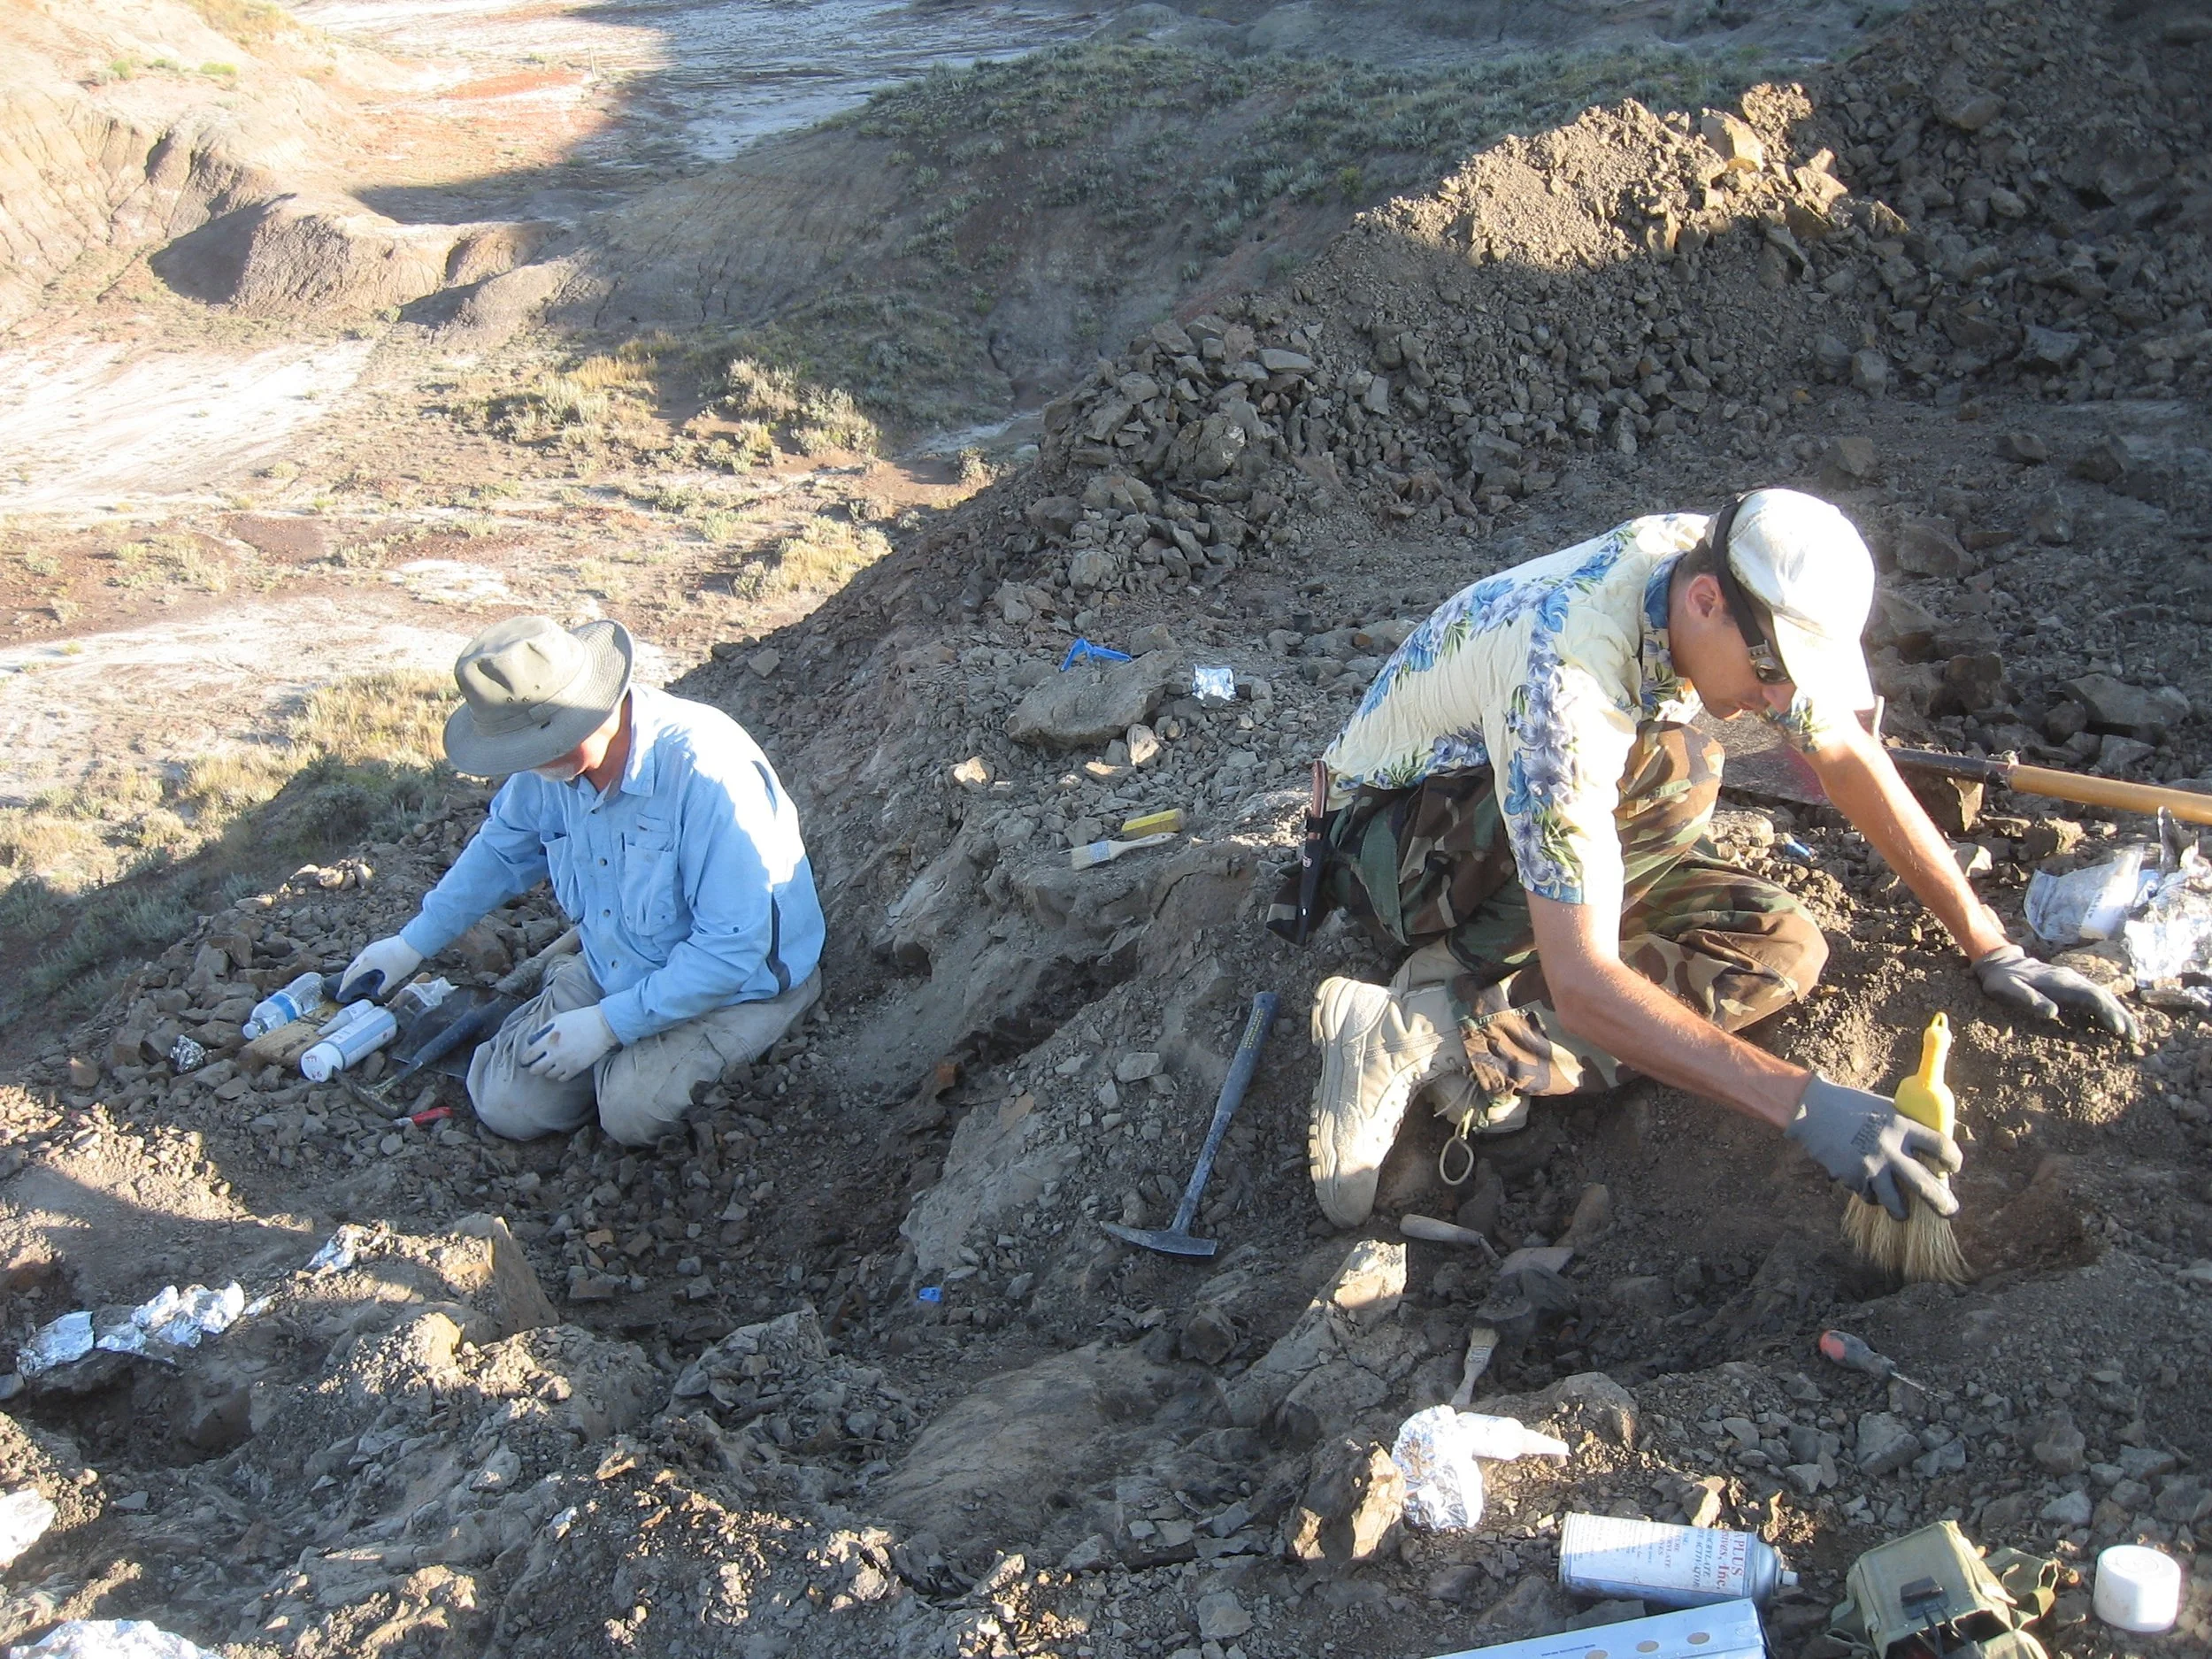
Expose As Little As Possible in the Field
Real scientific progress is made through sheer devotion to the craft.
Step 4: Evaluation Pit
You’ve traced those fragments until you’ve got a bone going into the hillside. That’s good progress! You now must determine if it is a single bone by itself or if there is a skeleton here. This is the step that separates the real collectors from the amateurs. Inexperienced people dig a small hole, collect the one bone, and move on without investigating if there was more present. You’ve got to dig a big hole.
Start by digging a meter on either side of the bone. Go about a meter back into the hillside. Dig a flat plane and work down through the layer the bone is in. This gets you enough clearance around the bone that it’s likely collectible (unless you’re digging up something huge like a sauropod femur. Just give up if this happens. Sauropods are as painful and irritating to excavate as they are big. If you persist at that point serious psychiatric medical intervention may be the only thing that can help you) and also gives you good odds at finding any more bones associated with it.
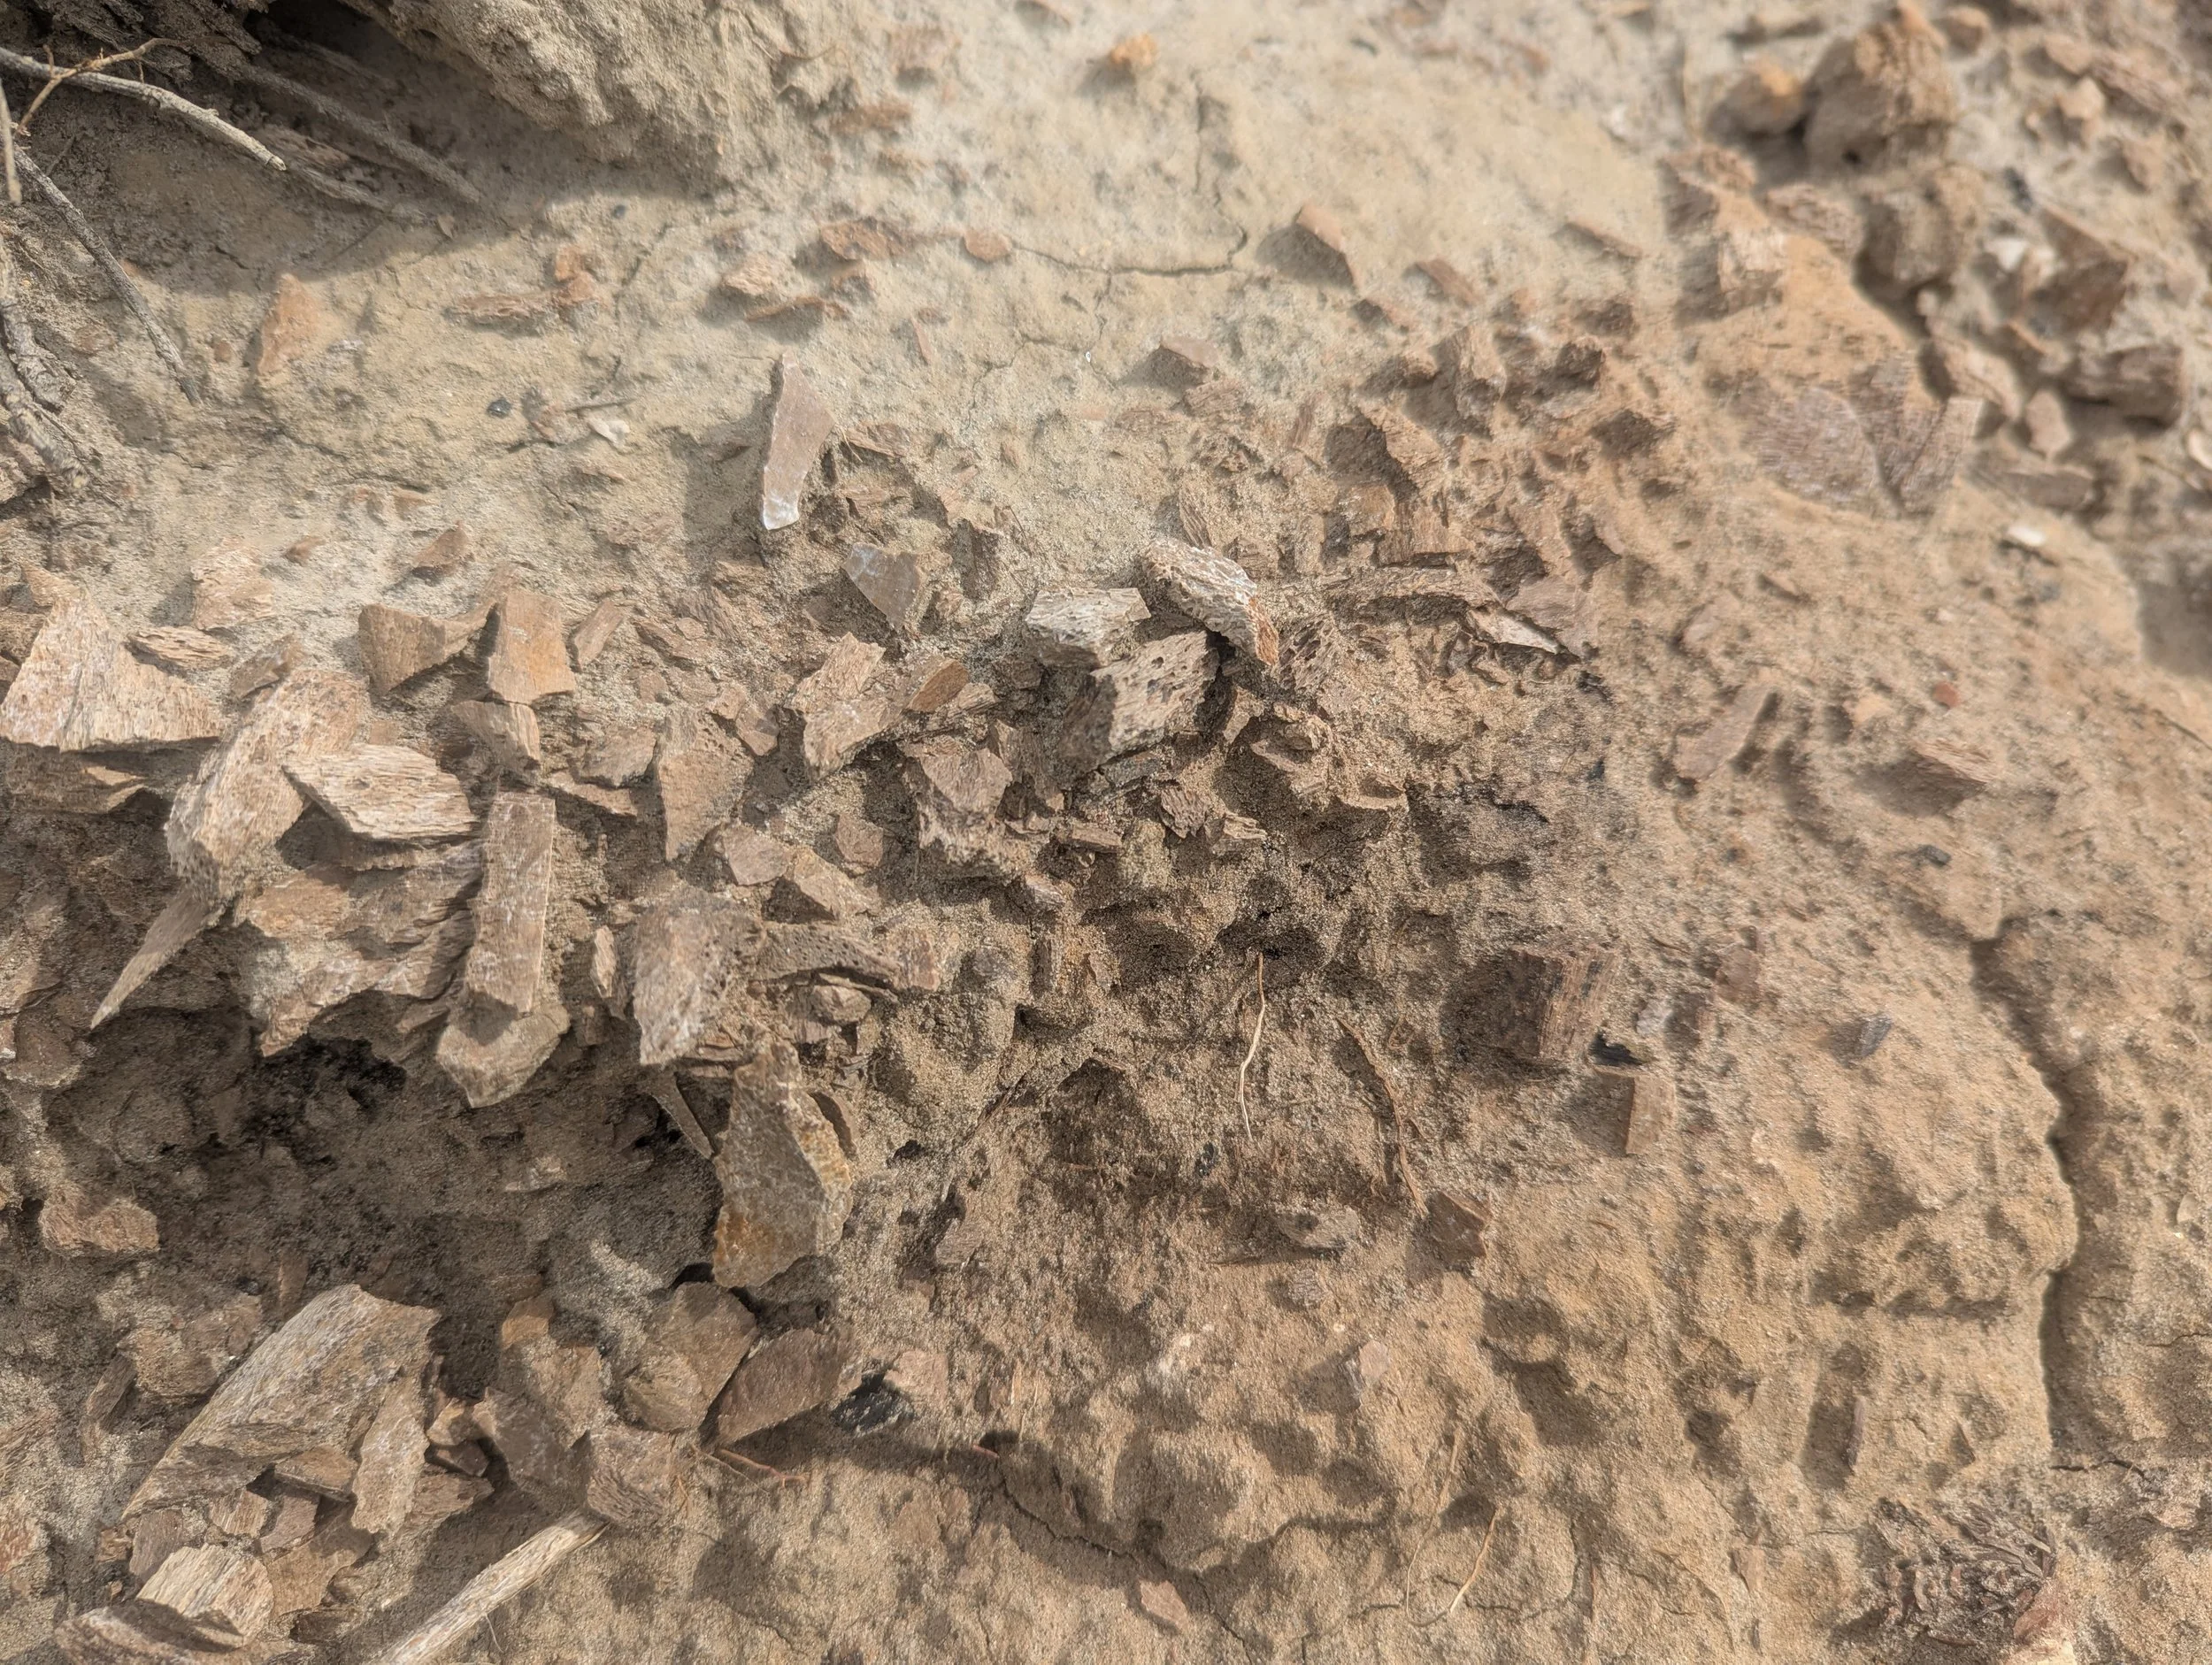
Fossil Fragments When You Finally Trace them Into the Hillside
If you run into bone, don’t completely clean it off in the field. All you will do is expose it to the elements and risk damaging it. Only clean off as much as you need to see what’s there, maybe identify it, and then continue digging to the sides. The idea is to plane the entire two square meter platform down, see if more is exposed, and make a decision about your next step. An amateur collecting site is riddled with little potholes. Don’t be that guy.
Say you’ve found several more bones in this evaluation pit. That’s great! It’s now time to expand your efforts…and the size of the hole you’ve got to dig.
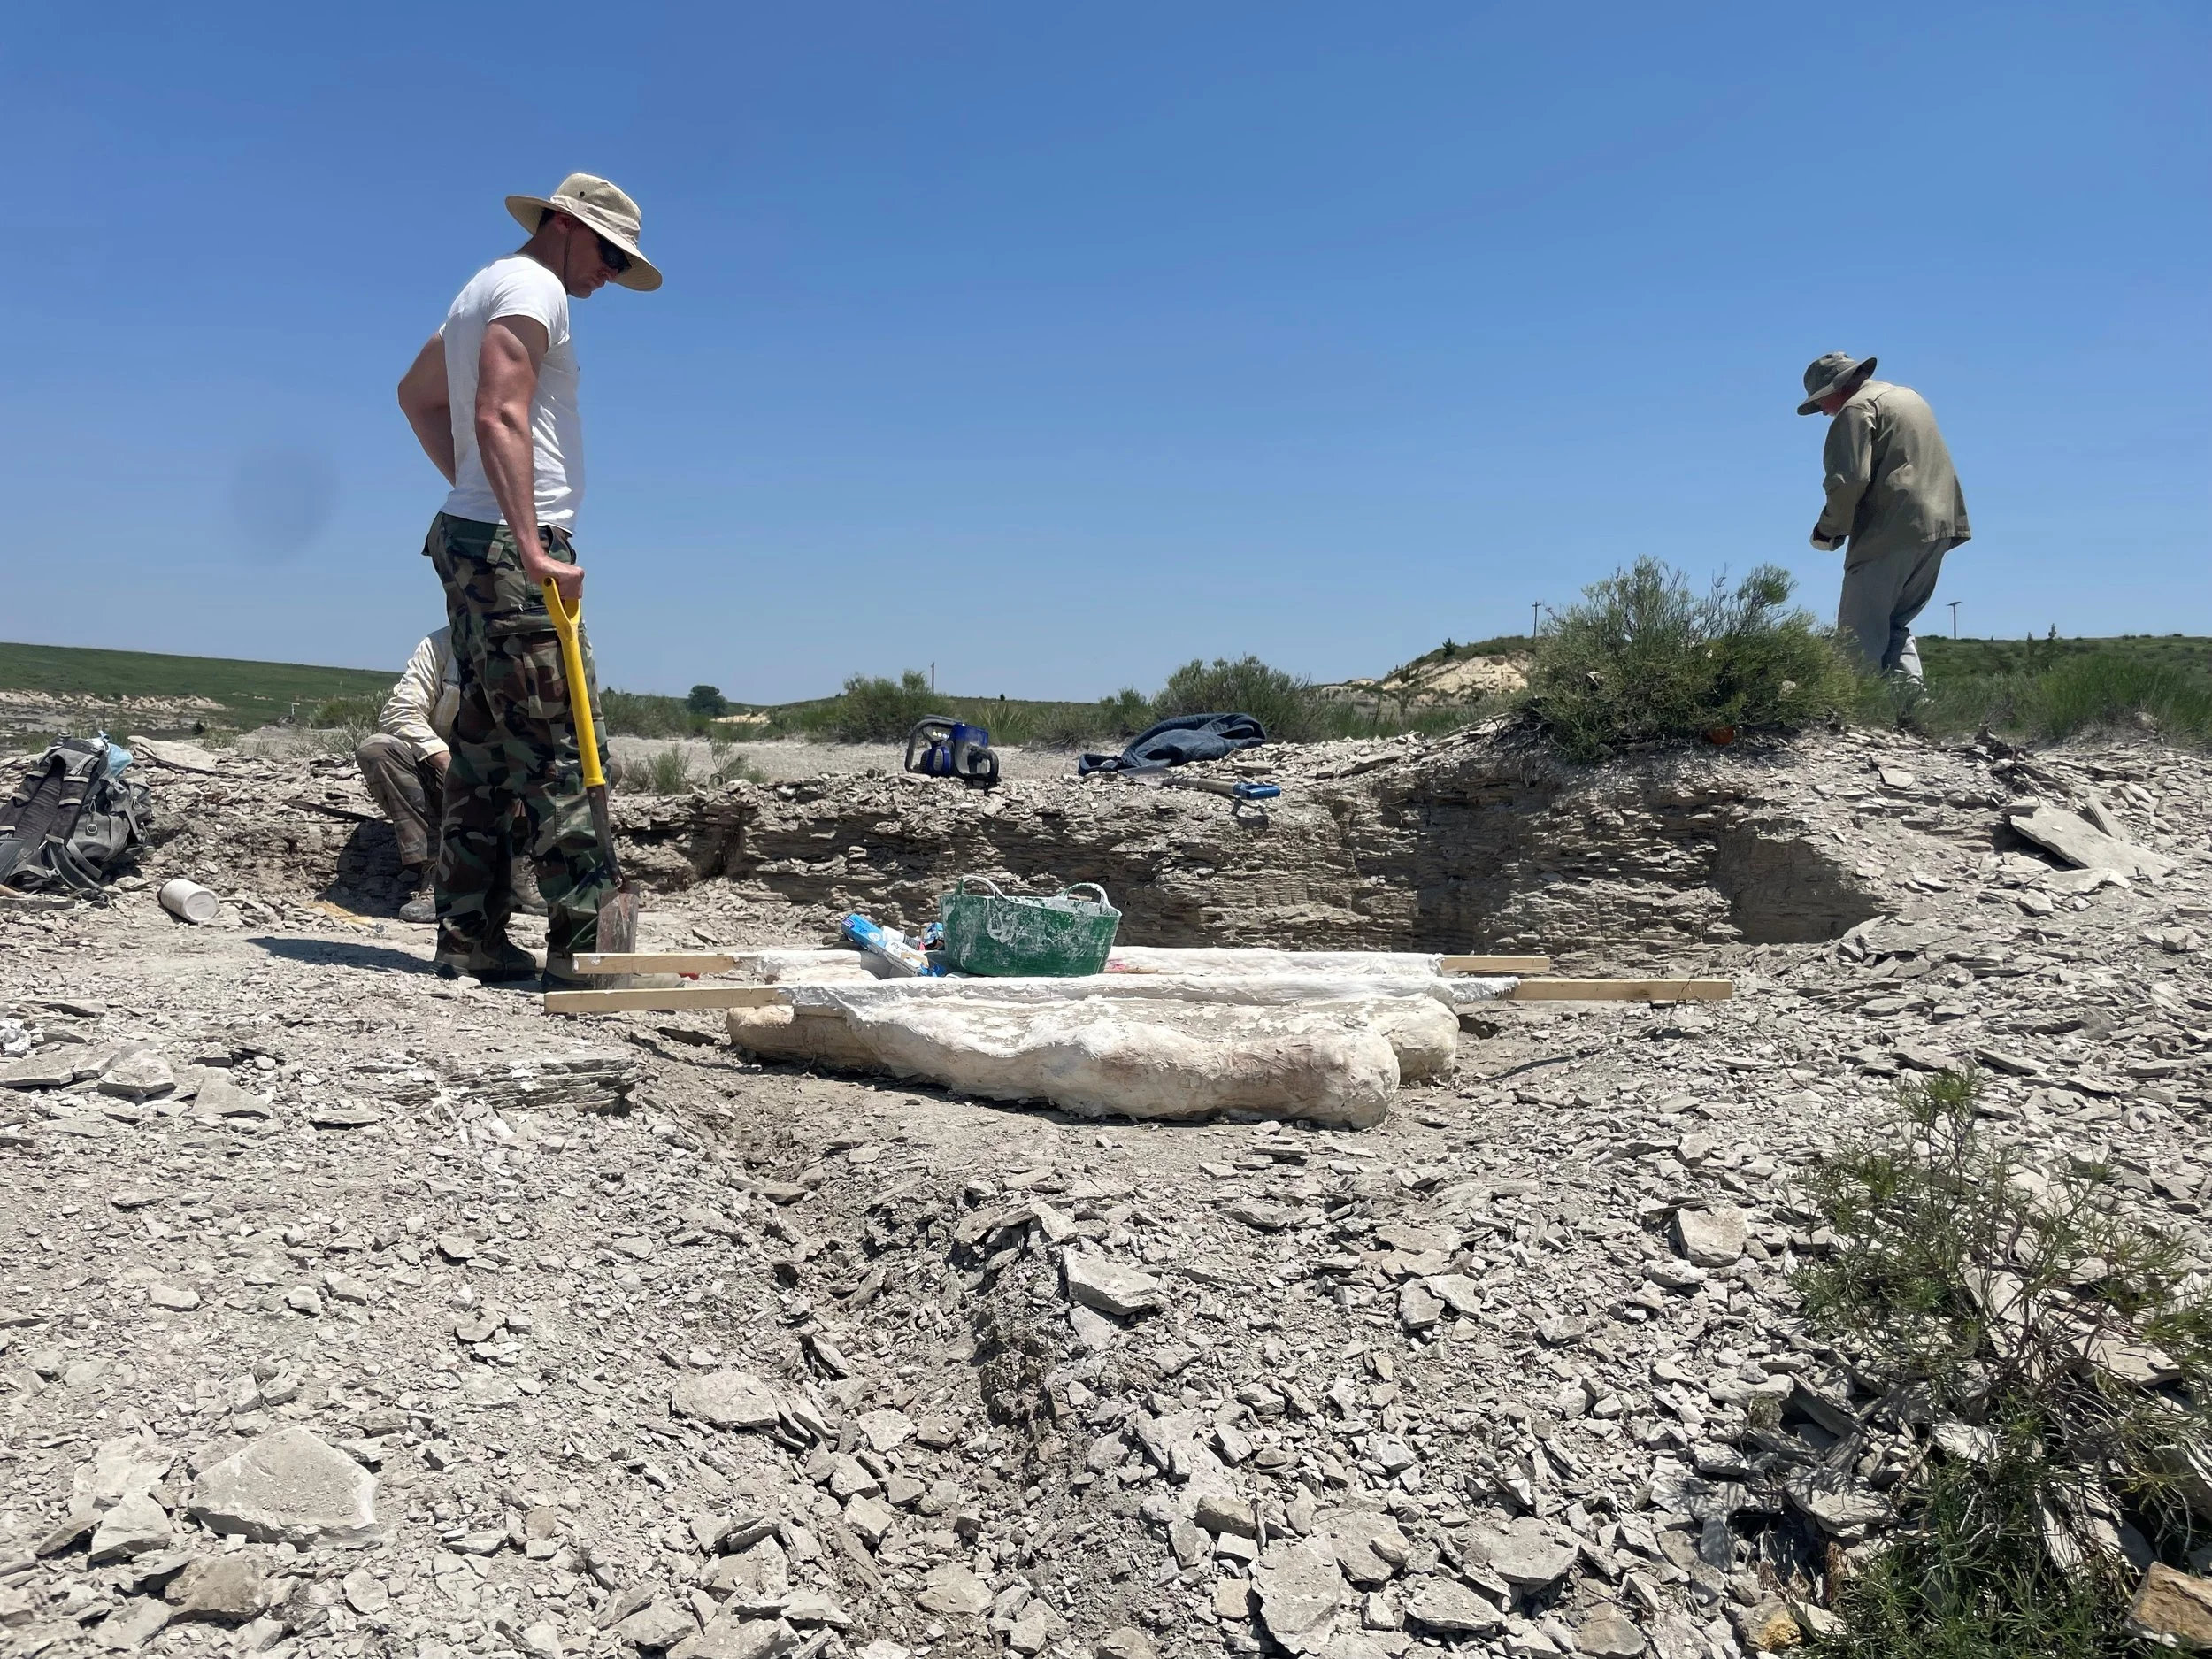
Step 5: Excavation
You’ve already dug a big hole. Now it’s time to…dig a bigger hole.
Secure and/or collect the fossils you’ve already uncovered so that the quarrying operations don’t damage them. You don’t want to roll a big chunk of rock across an exposed dinosaur bone!
Dig back a couple more meters, work through the rock until you get to the layer that contains bone and then slow down. Gently cut another tabletop and work it down, carefully looking for more fossil material as you go.

Dress for the Job You Want, Not the One You Have
As you run into fossils, expose as needed, take lots of photographs, and take copious notes. Record an inventory and give each bone its own unique number. Record any glues you use on it, write down any observations you have about it, how high in the layer it was, what tools you used, its orientation in the ground, other bones nearby in the quarry, and what zodiac sign it had. Lay out a grid and keep a detailed map on graph paper. Do regular photogrammetry of the site. You may think you’ve written enough down, but you haven’t. Seriously. Let your inner nerd shine because this is your moment. Don’t let it slip out of your grasp.
If you run into more bones, dig around them and isolate whatever you can. Leave them in place but dig down around them so that you form a pedestal with the fossil in the middle. Undercut the pedestal just a little and get ready to make a field jacket.
For this part you’ll need a bucket, water, burlap strips, plaster, and some kind of separator. The separator is usually either paper towels, newspaper, or aluminum foil. Fossil hunters have strong opinions about which separator works best and they aren’t shy about telling you all of the moral and personal failings of anyone who uses a different separator than they do. It’s important to pick your camp early and stick to it dogmatically so you can always slash the tires of anyone in the opposing outgroup when you’re at a conference. Seriously, don’t just grab something and get back to work. It’s not as if each one of these options works just perfectly fine or anything.
Cover the exposed bone with your separator (you chose aluminum foil, right? It would be a real shame if anything happened to your tires) but leave as much rock as possible untouched. The purpose of this is to protect the fossil from getting stuck in plaster while letting the plaster stick to the rock. Once all of the fossils are covered in separator, mix your water and plaster in the bucket until it’s a nice, smooth, thin milkshake consistency.
Grab a strip of burlap and dip it in the plaster, making sure that the plaster saturates every bit of fiber. There is a lot of debate over shape and size of burlap strips as well, but that fight gets so ugly that the argument over separators looks like a friendly tea party. I’d like to go into details but some of my audience is a little on the younger side and those exuberant debates aren’t appropriate to discuss with our nation’s impressionable youth.
Wrap your pedestalled fossil in the burlap strip. Keep making more plaster saturated strips until the whole block is completely encased. Two full layers is good in a lot of cases, but you may have to do more if it’s more than 50lbs or so. You will likely need to make several batches of plaster. Let it totally cure up, which could take an hour or more. Full cure for plaster takes over a week, but it should be good when the plaster feels dry to the touch. If in doubt, give it a little time.
Scrape any spilled plaster off your boots and then get ready to break the newly-formed jacket free. Sometimes a shovel worked under it will do, sometimes you need to bust it loose with a big chisel. Once I even helped build a fantastic Rube Goldberg machine with a chain, a truck, and a broom. I credit myself as a savvy inventor even if the patent office didn’t quite see my vision.
This is important- don’t slide the jacket and don’t do any test flips. If it is loose from the ground, you will see it break free all the way around. If you aren’t absolutely sure, keep working around under the plaster jacket with chisels until you are sure. You only get one shot at this.
When it’s free from the ground and ready, plan your flip. Where is the jacket going to flip to, who will do the lifting, and who will be on the other side? If you’ve got particular people on your crew you are not overly fond of, this is the time to make strategic labor assignments.
Get on one side of the jacket and LIFT. Roll it away from you until it goes all the way over. Don’t ever stop halfway and don’t set it back down for a reset. That’s how jackets collapse and destroy everything in them. Roll it and keep going. If your jacket is strong, you undercut well, and you planned your flip properly, a nice clean chunk of rock will sit contained and ready for transport. What was on the downside in the ground is now facing up, the fossils are contained in the same rock that has kept them safe for 82 million years, and you can now embark on the true adventure.
It’s time to get this heavy chunk of rock into the truck to take home.
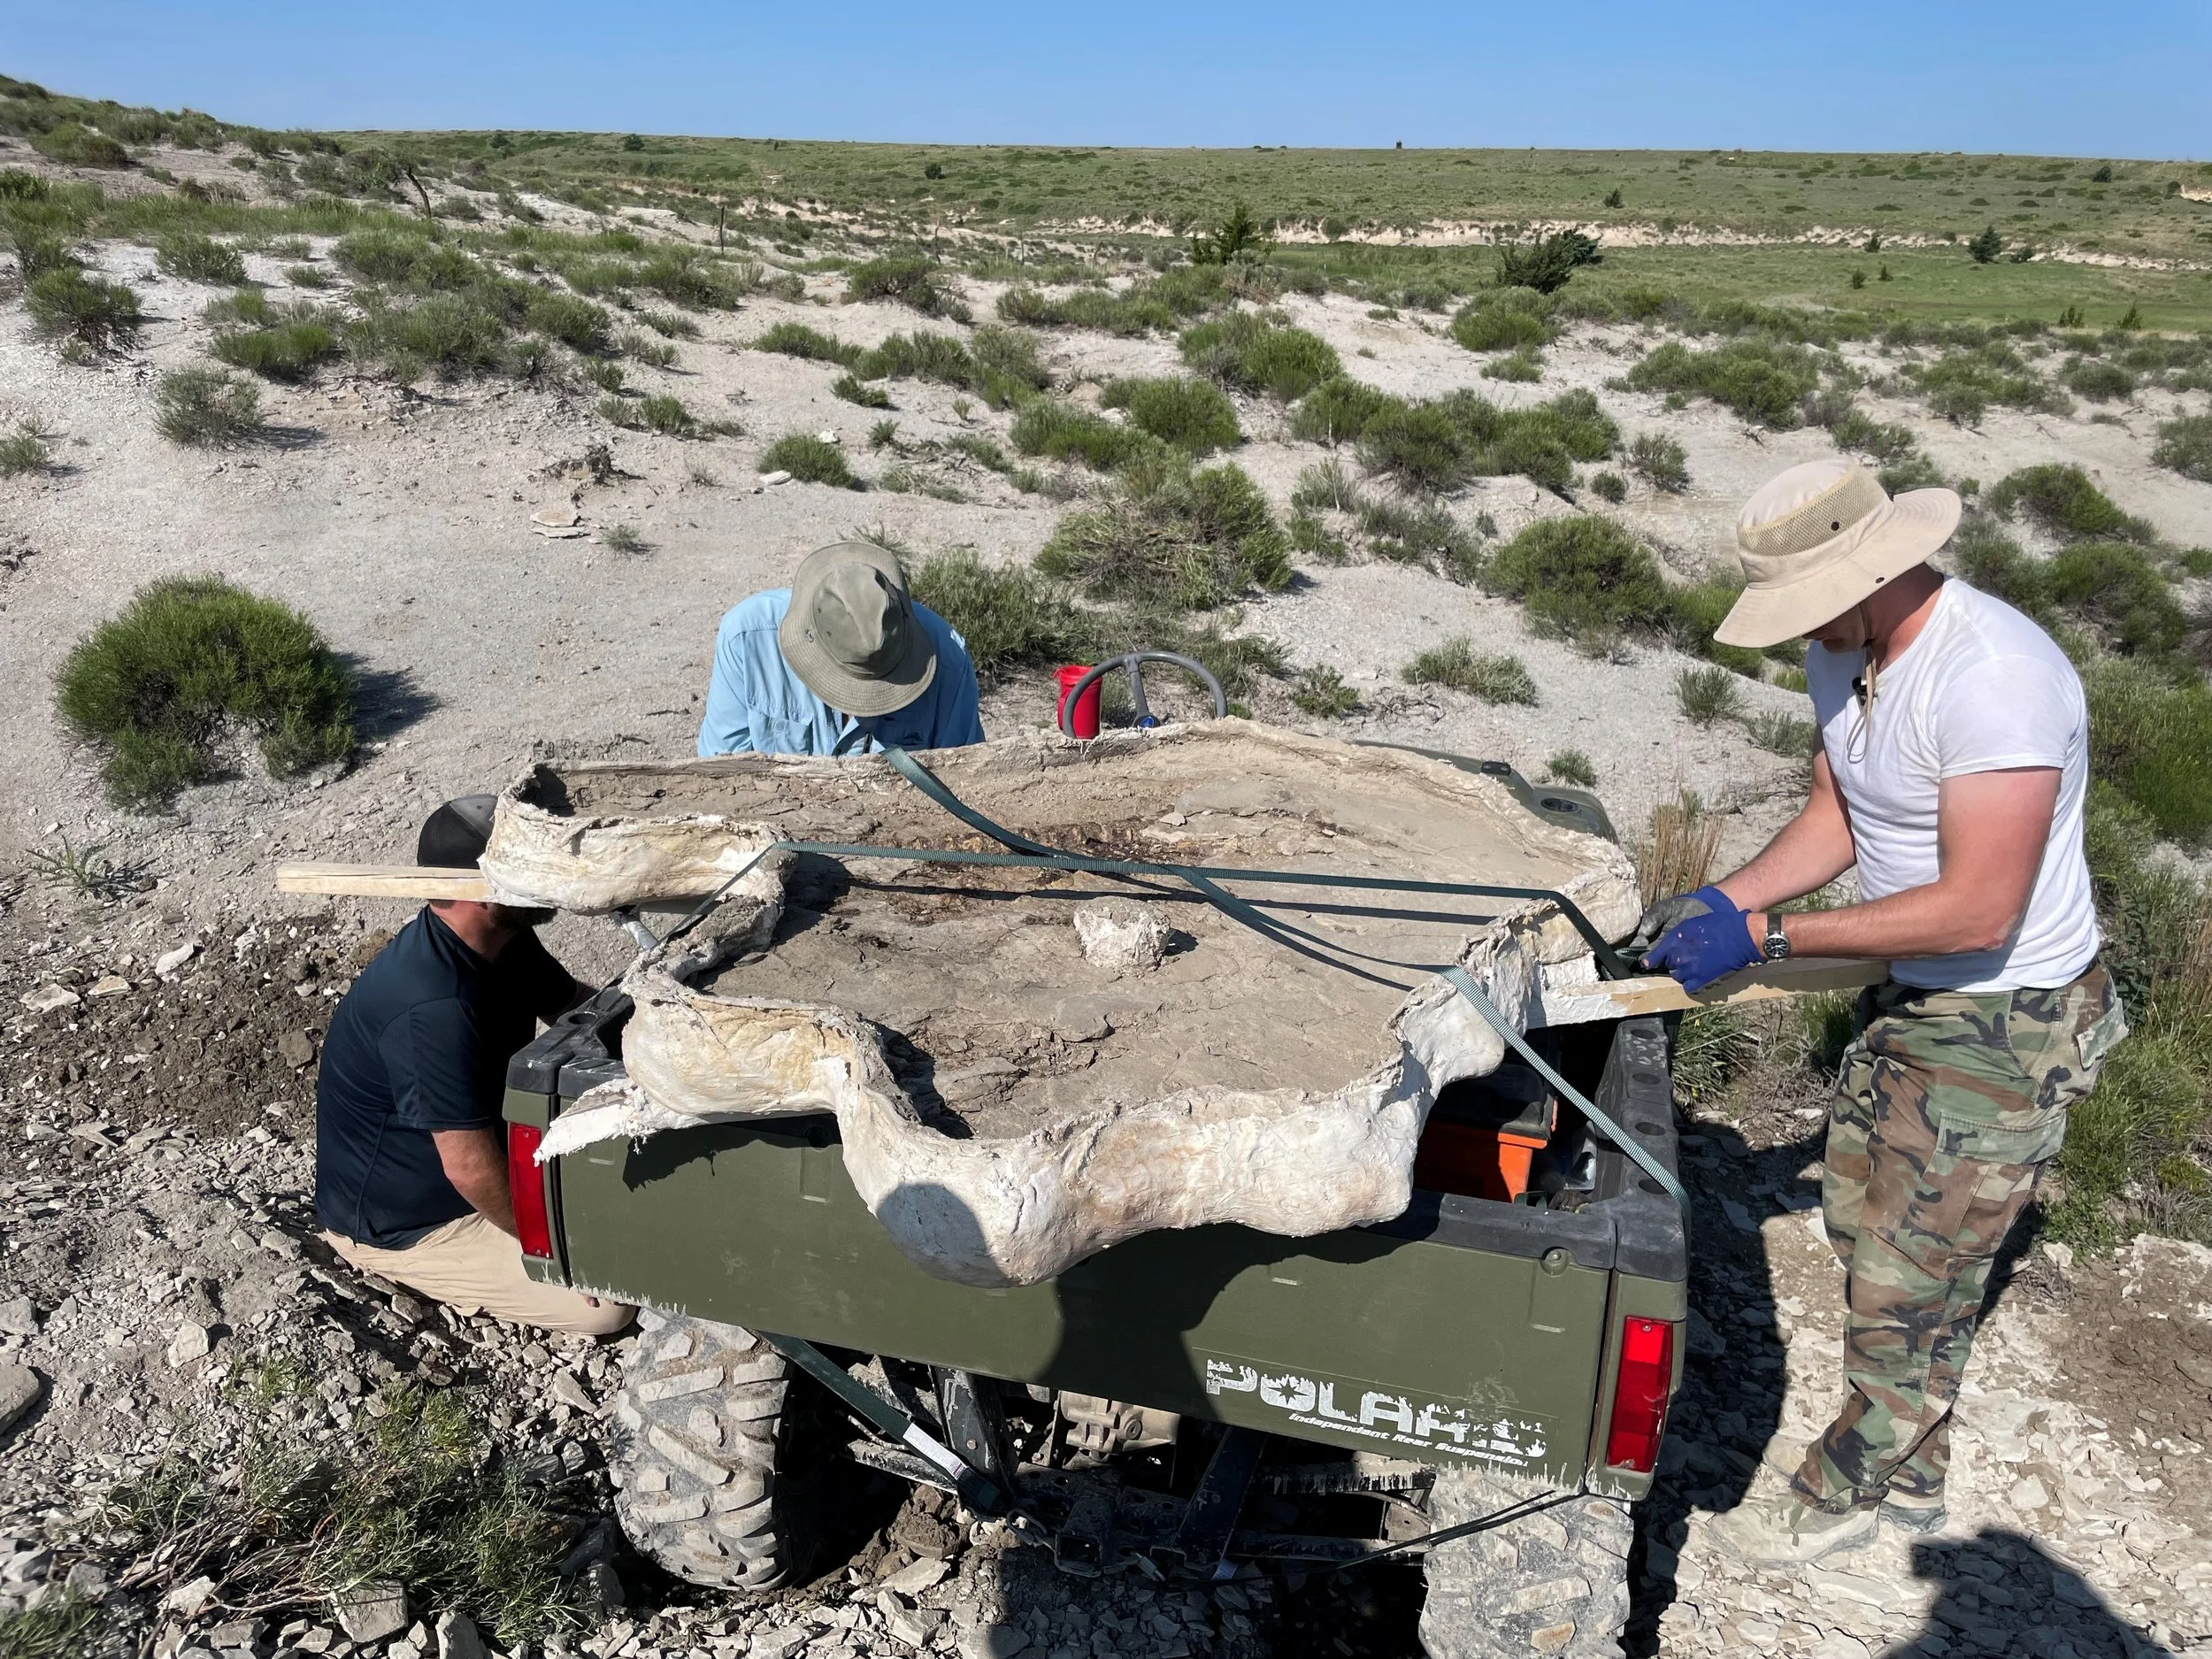
Step 6: Loading the Fossil
The first law of Paleontology:
Dirt = Heavy
It’s time to put those once-a-quarter Zoomba classes to use and find out what kind of shape you’re really in. The best way to go about this is to back the truck up about eight feet from the dig site, grade a smooth path from the jacket to the tailgate, and make sure any tools in the bed are clear so you can directly load the jacket.
Here’s how it will really go down:
Whoever found this fossil did it so far from the truck, a road, a path, or any sign of civilization, that we have no way to get anything but a helicopter near the site. That speck on the hilltop on the horizon and a few hundred feet up the hillside? That’s the truck. Fortunately, there are only two ravines, a bog, a few hundred sharp rocks, one extremely steep grade, and no more than nine rattlesnakes between it and us. The jacket doesn’t weigh that much anyway. Maybe you should get the heavy end, though. My back is a little twingey.
A time-honored approach to this herculean labor is to carry it as far as either our lungs or grip strength allows. If either feels like it’s about to give out, don’t just drop the jacket on the ground. That’s not good for the fossil. Instead, wheeze loudly and stomp your feet a couple of times. Start gently setting the jacket down even if your partner isn’t sufficiently warned. He’ll get the idea. If he does this to you, make sure to throw a dirty look or two at him to let him know you don’t appreciate that sort of behavior. Catch your breath, pick the jacket up, and resume the march.
Carry a few hundred feet. Wheeze and rest.
Carry some more. The sun is getting a little high.
Did we bring any water? I sure could use a drink about now. Carry it a bit further.
I don’t remember it being this heavy when we started. We’re almost at the big hill. The truck is just up there.
I guess the truck isn’t juuuuuust up there. This hill is a lot bigger and steeper than it looked before. Is the gravitational constant of the universe changing? I don’t remember what they said about that on NOVA.
We’re a ways up the hill now. Stop for another wheezing break.
Keep going. How heavy was the boulder Sisyphus had to roll up the hill? It couldn’t have been heavier than a dinosaur bone.
There it is! We’re almost at the top! The truck is just peaking over the edge of the outcrop. We’ve made it! Now all we’ve got to do is get the jacket into the bed of the truck, load it up, and we can take it home. Just another fifty feet or so and-
WHAM! My sole just blew out.
Ok. I guess I didn’t buy such nice boots after all.